Monday, July 2, 2012

30 Day of Summer: #3

Our Fourth of July project was a success!  The Patriotic Wind Socks are now decorating our front porch!  We kept it simple this time with basic red and blue adornments.  But you could get more specific with the flag motif for older children.  
We had finger paints, brushes and plastic star cookie cutter available, so that's what we used.  We got out a large sheet of poster board and the boys went to town on it.  Edward's side was mostly red, because that's his favorite color- hands down.  Anthony was just fine with blue.  
During the paint drying period- we had a little too much fun getting out the streamers.  But, luckily we had enough left over for the actual project.
When the paint finally dried- I cut the poster board in half lengthwise- one for each of the kiddos.  This make for a nice big space to attach the streamers.  We flipped the board over and I help the boys apply a heaping strip of rubber cement along the bottom edge (or one of the longer edges- it became the bottom once we applied the glue).  Note: I did this individually with each kid- because it takes a decent level of concentration and aide to get the streamers somewhat orderly. 

We used nice long lengths of streamers- so they could really blow in the wind.  We ended up with 8 on each sheet.  It was fun to make the pattern with Edward (although he didn't understand why they couldn't all be red).
We attached the sides to one another with a quick staple- punched some holes for the pipe cleaners- and had lovely 4th of July decorations for our porch.
Happy Birthday America!!

Sunday, July 1, 2012

30 Days of Summer #2

Just a quick little project- I don't know if it even counts as one of the 30 (we'll see if I make my quota).  This is a great in-between-time craft.  Say you're making dinner and your three year old keep tugging at your leg while your wielding sharp knives and boiling liquids.  This is a perfect distraction craft.  

I asked Edward what he would like to decorate-giving him a few simple options.  We decided on a flower.  Again, the options were pretty limited - my free hand repertoire is what it is.  But, thinking back we could easily have used a picture from a magazine as well.  Maybe we will, as we have lots of left over pasta.  

The pasta was rescued from a floor dumping episode.  I donated some the three boxes littering my floor to Edward's preschool for the sensory table and kept a box set aside for impromptu crafts such as this.


 There you have it: glue, pasta, and something to slap it onto- viola a moment of peace at the stove.

Monday, June 25, 2012

30 Days of Summer Project #1

Has anyone notice the vacuous hole that has been my blog the last 6 weeks or so.  I began with such gusto.  Due to my habitual lack of self motivation- I have given myself an official blog assignment.  This is also a mom assignment and a generally fun-filled assignment.  So... here goes.   Summer has officially just begun.  And with summer comes outdoor (and sometimes rainy, or a nice break from the sweltering heat) fun.  I have a tenacious 3 year old and a wily 17 month old.  What to do with them?  Well other than spray them with the garden hose repeatedly and kick a ball up and down the driveway (don't worry, there will still be plenty of that!)
I am a true arts and crafts appreciator.  I am also a nature lover and a total amateur scientist (well at least I love to see how things work).  Luckily my toddler and preschooler are arts and crafts aficionados and natural scientists.  So we decided together that this summer should be filled with exciting projects.  Thus my blog project:  one month's worth of summery projects in three month's time, or three to four projects a week successfully executed and documented here on "life in the pines."

To show that I am serious and completely committed- here is the first project- ICE PAINTING!

Water, food coloring and something to mix it all up (we used q-tips)
Ready for the freezer...
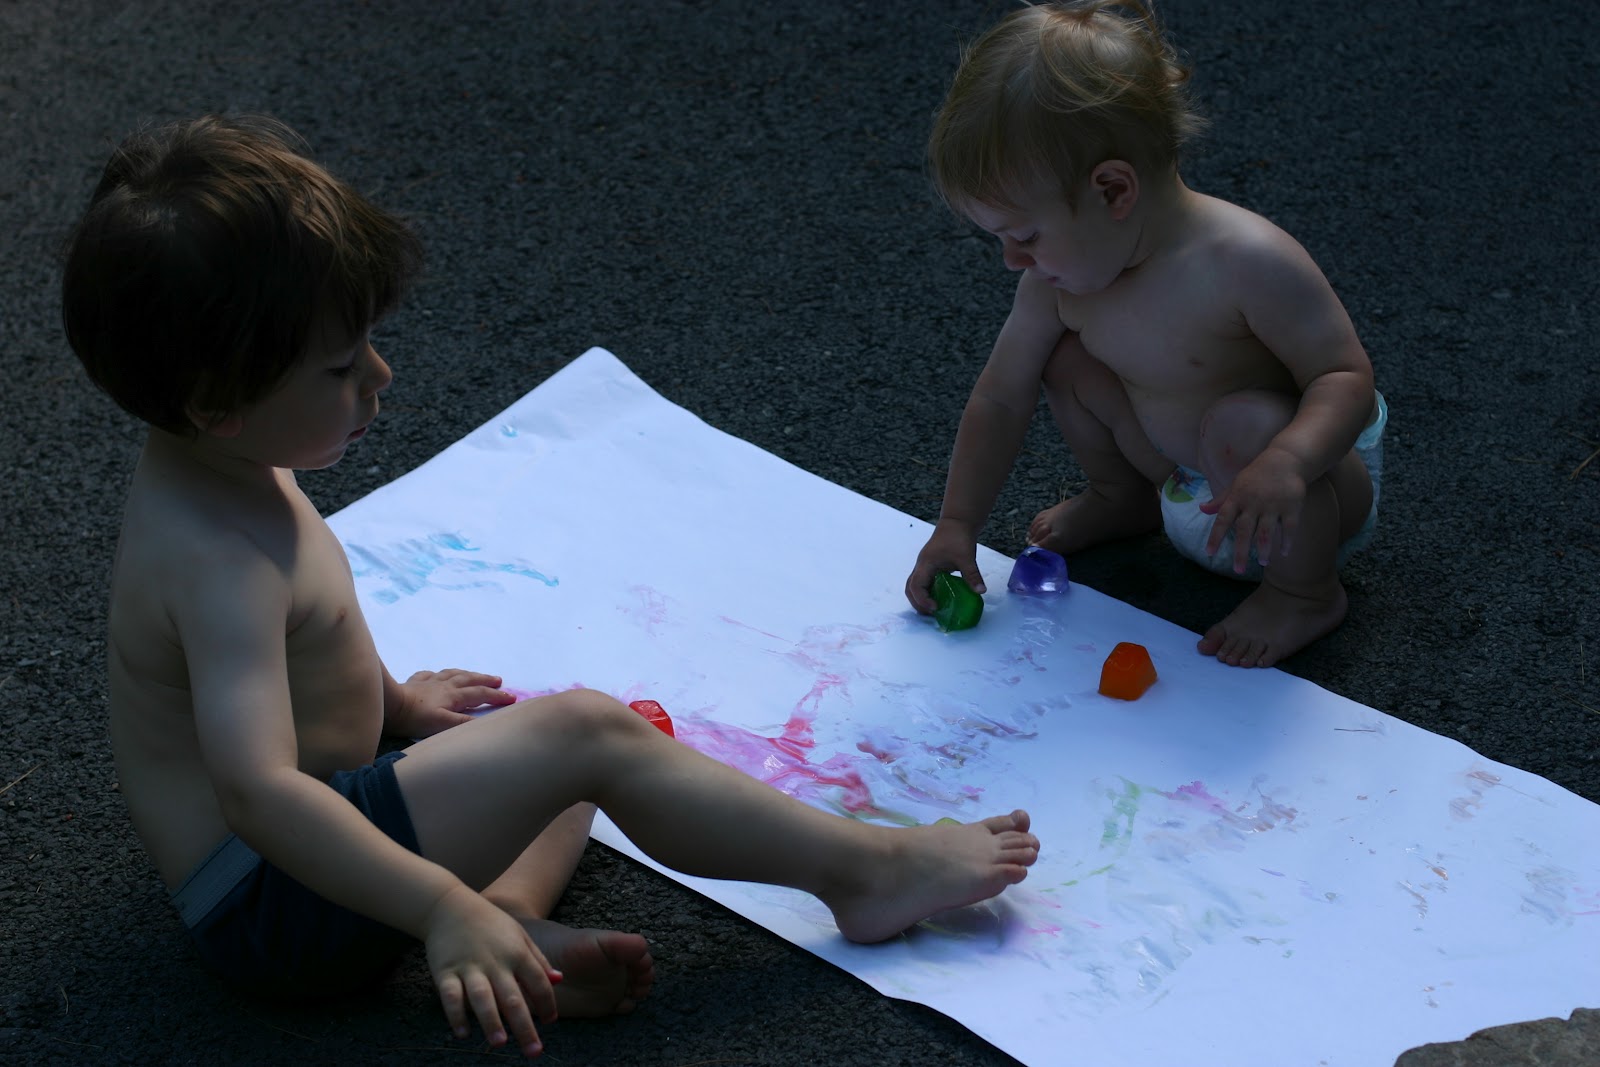
This project is super easy and great for little hands to be involved in the whole process.  From pouring water into the ice cube trays to mixing in the colors with q-tips, to checking on the freezing process and melting the paints onto paper- we all had a good time.
All you need are ice cube trays, water, food coloring and something to mix it all up (we used q-tips).

I don't think we need an official step by step here- it's pretty self explanatory.  The boys had fun pouring the water into the tray and everywhere around the trays and onto the floor (my floor needed a mopping anyway).  I would suggest a little more diligent supervision during the food coloring step.  Edward loves red, so we had a little color imbalance.  It took some convincing to use the other colors.  

A very proud little artist/scientist
We checked on the freezing progress several times- feeling very scientific indeed.  When we had solid cubes we donned minimal clothing and went outside for cool colorful fun.


The inevitable taste test...

It's no fun without a little mess!
A simple and fun-filled project we plan to do lots more (we even have some cubes left from this round)!

Soon to come... NATURE FOSSILS and FOURTH OF JULY CRAFTS.

Until then... happy summering!

Wednesday, May 9, 2012

Nakie Boys Series 3


Big brother- little brother.

We keep explaining to E that A will most likely be bigger than him someday. But for now the big brother's still in charge. They are best friends about 95% of the time and we couldn't feel more blessed. They love to love each other, but they are also going in opposite directions (much to mommy's dismay) most of the time. To get them to both look at me and smile is nearly impossible. But we know how handsome they both are- so capturing them in action is really more alluring.

This completes the first nakie boys series.

Nakie Boys Series 2


Alright E's turn.
A wily three year old is not the easiest material to work with as a photographer. Luckily he is 110% character and super handsome (check out those eye lashes).

I warmed up most of these shot in lightroom thanks to my boys' paler than pale skin being practically reflective and leaving them looking washed out. Again, any help is readily accepted (opinions, please???)
I really should be doing before and afters shouldn't I? I'll save that for another topical blog series. How bout?


So, again, the wriggly boy factor- how did I even get these shots? I let him have at the futon- flip the cushion up- make a "bed" out of pillows and covers- crawl across the "train track"- etc. Later the boys pulled the futon half off the frame to make a slide. All this kept them in one general location and yet unposed in the formal sense. And it makes picture time and playtime one and the same. Enjoy!

Tuesday, May 8, 2012

Nakie Boys Series


So isn't this how so many of us get involved in photography- beautiful children. I'm working on my fixed lens portraiture and lightroom editing. This is all a works in progress, I wholeheartedly admit. I took a bunch of shots the other day when the boys were in transition from pj's to day clothes. The morning light in the playroom was really stunning. I let my camera and models do most of the work. Here are a few of the A man...
I welcome any advice from experienced photographers and any opinions from experienced appreciators. E man shots and duo shots to follow.


P.S. A was getting over pink eye- thus all the "artistic" back of the baby shots. I will share shots of his beautiful face as well. Promise.

Monday, May 7, 2012

Growth

I should be folding laundry... What a wonderful and fulfilling method of procrastination you are blog. Thank you for that- I still feel somewhat productive. Speaking of productive... my darling little plants have been working hard. I really don't have much to do right now other than tend to the weeds and cheer on my little sprouts (nature has provided their baths and and beverages with copious rainfall this past week). Here are some before and afters (two weeks of effort on their part- and a few hours on my part).
Before:
After:
Notice the Marigolds from Kmart... according to my mom, who did not so generously pass down her lovely green thumb, they will help with pest control. I think they are a merry addition to my little green soldiers. They are also a hardy frugal flower (frugal? yes, I think so- high yielding, low cost).

Before:After:We have a few more rainy days ahead peppered with sunshine. I'm hoping this will keep my plants happy. I just went and bought another trunkfull of peat moss for my second bed. Overzealous? Maybe. But this bed is already half full and I'm a relentless optimist.